I know it’s hard to believe it but Christmas is just a few days away! December totally crept up on us this year. If you’re anything like me, you’re in full panic mode because you haven’t finished checking everyone off your Christmas list and just realized you only have a few days left. Luckily, there’s no need to stress or spend a ton of money on last-minute gifts at the store. If you’re looking for a unique and thoughtful present, try one of our easy DIY beach-themed Christmas gift ideas!
Beach Tile Coasters
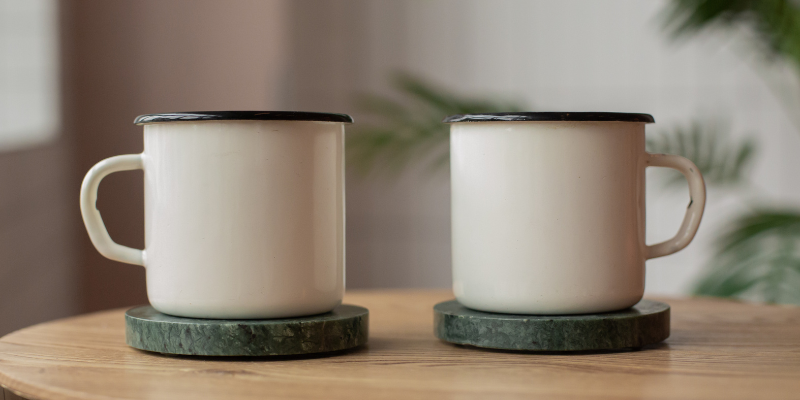
Almost everyone uses coasters somewhere in their home so why not make them a little more personal with all of your favorite beach photos? This DIY gift is practical, easy to make, and very special. Just think – every time the recipient sets their coffee cup down in the morning, the first thing they will see is a wonderful memory from your last beach trip together!
Materials Needed:
- Beach Photos
- 3” x 3” Tiles (ceramic or cement)
- Water-resistant acrylic spray
- Felt squares
- Scissors
- Craft glue
- Modge Podge
- Paintbrush
First, cover your surface with newspapers/magazines or something to protect your workspace. Determine how many coasters you are going to make (consider 4-6 in an average set) and get the same number of photos as you have tiles. Tiles can be purchased from your local hardware store - use whichever tiles you prefer but ceramic or cement works best and will only cost a few cents apiece. On the backside of the tile, use craft glue to attach felt squares the size of the tile (or use a small felt circle in each corner). This will prevent the coaster from scratching the table.
Cut your photos to the size of the tile and use your brush to coat the tile with a layer of modge podge. Put the photo on face-up and then brush another coat of modge podge on top – be sure to get the corners well so the photo doesn’t come up. Let the modge podge dry for about 30 minutes and put on another coat. Repeat this step as needed. Repeat for each tile until you have a complete set and let them dry completely. Finish off with a solid coat of water-resistant acrylic spray to make sure leaking beverages or condensation won’t ruin the coaster. Let them dry overnight. Tie with a cute ribbon or package in a nice box and you have a perfect DIY gift that will be treasured forever!
Tip: If you don’t have a home printer, most pharmacies and places like WalMart and Target have printing centers. Don’t have time to get new photos printed? Chances are you have some photos in an old photo album or piled in a box somewhere from the days of disposable 35mm cameras. Grab some of those pictures and create a “throwback collection.”
Glittery Seashell Ornaments
You’ve no doubt seen these glittery seashell Christmas ornaments in many of the Outer Banks gift shops but did you know that you can make your own? Not only is this a fun DIY that your kids can help you with but the finished product will look amazing on the tree! Plus, it is a great way to repurpose all of those seashells you brought home from the beach on your last vacation.
Materials Needed:
- Seashells
- Craft glue
- Glitter
- Paintbrush
- Ribbon/twine/string
- Drill or hand-held rotary tool
After drilling the hole into your shell, sit it down on a paper plate or something that will help catch all the excess glitter. Use your paintbrush to paint a thin layer of glue on your shell where you want glitter to stick. You can coat the edges, paint a pattern, or even write a letter. (If you want to make the whole shell glitter-coated, consider using an adhesive spray). Sprinkle the glitter on top and don’t be afraid to mix different colors! Let dry and then string a ribbon or piece of twine through the hole so it can be hung on the tree. Be sure to wrap with tissue paper so your gift doesn’t break.
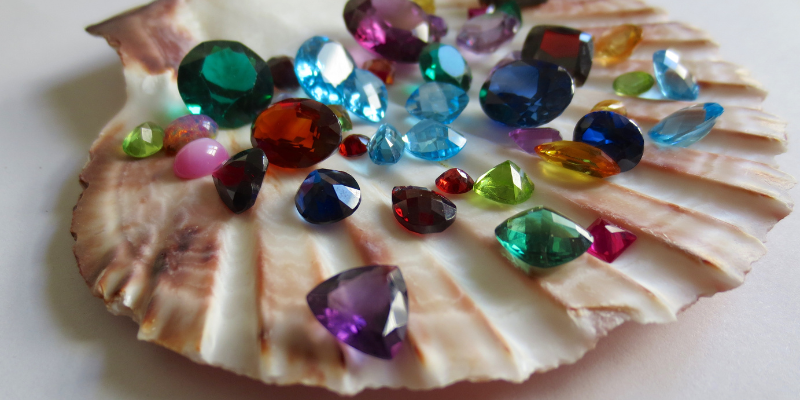
Tip: You can be as creative as you want with this DIY Christmas gift! You can use fine or chunky glitter, add beads or gemstones and even attach rope or ribbons. You don’t have to use only seashells either! You can decorate sand dollars, starfish, driftwood or any other sea treasure you brought home (just do a little research on how to properly attach the ribbon).
Seashell Picture Frame

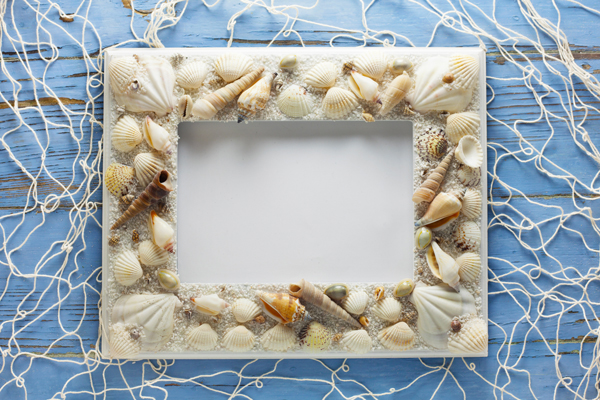
No home is complete without an awesome family beach photo displayed in a lovely seashell picture frame. When you use shells that you picked up yourself, the frame even more special. This DIY is very customizable because you can use any size or style of frame, any type of shells, and any pattern that you prefer. This is another great project to do with the kids.
Materials Needed:
- Photo Frame
- Seashells
- Craft glue/adhesive or glue gun
- Paintbrush
First, cover your surface with newspapers/magazines or something to protect your workspace. Make sure your photo frame is free of any stickers, plastic, etc. that could prevent the glue from sticking. Lay the seashells out on the frame (without the glue), mixing and matching the pattern until you get a rough idea of how you want the frame to look. When you are ready, attach each shell one at a time by brushing a small amount of adhesive to the frame. Make sure to let the glue dry before sitting the frame up so nothing falls off. Repeat until all the shells are on and let the frame dry completely. Gently check each shell for loose spots and touch them up with glue if necessary. Once the frame is complete, add your favorite beach photo or leave it empty to let the recipient use a photo of their choosing!
Tip: For a more complete look, use dried sand along with the seashells! You can attach the sand by putting a layer of Modge Podge down where you want the sand to show up. Depending on how thick you want the sand, you may need to do more than one layer. You can even cover the whole frame in sand!
But if you're not really the craft type, booking an Outer Banks vacation can be the perfect holiday gift. Show your family just how much you love them by surprising them with the ideal vacation rental of their dreams to enjoy next year! We even offer beautiful gift certificates that we can mail or email to you (for no additional fee) that you can put under the tree! Vacation gifts can sometimes be the best ones of all because not only are you showing your loved ones that you care, but you’re helping them create invaluable memories that are sure to last a lifetime. Take a look at our available rentals now!


